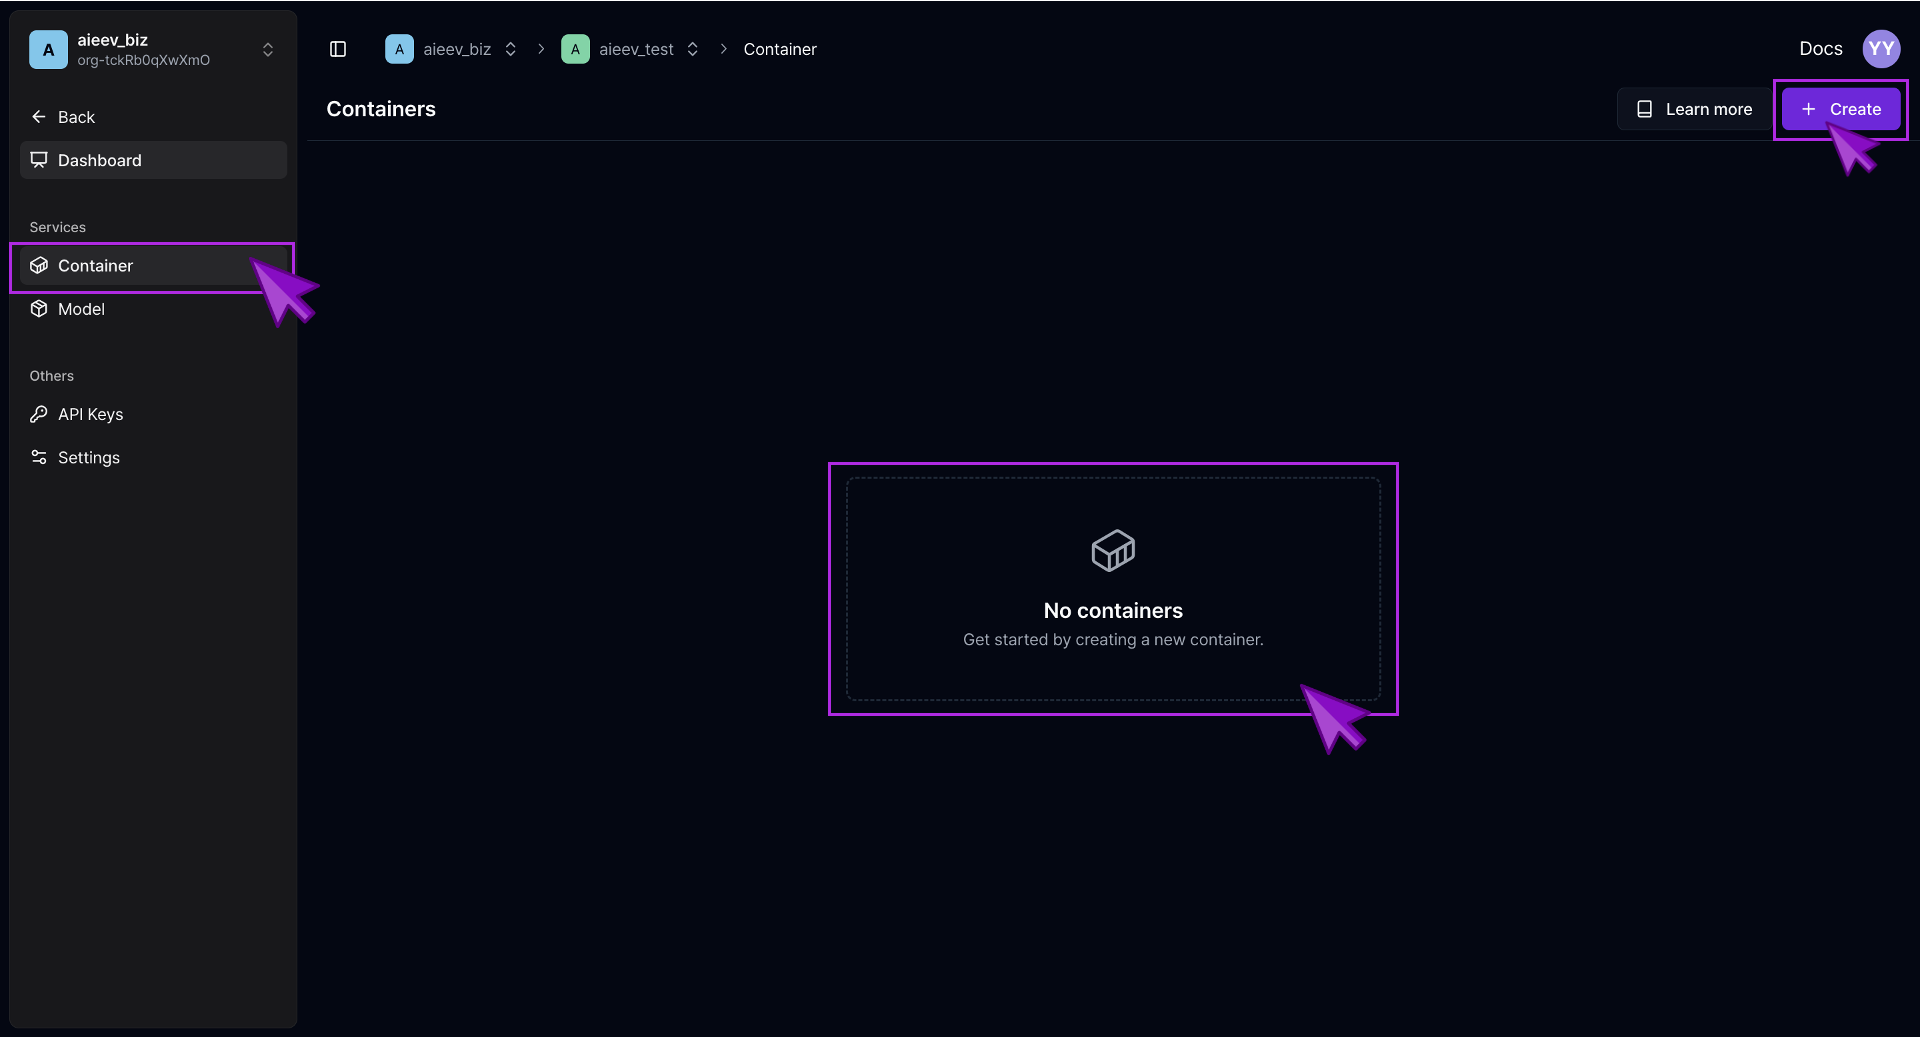
Air Container enables you to deploy containerized AI services quickly and efficiently. Here’s how it works:

Deployment Flow

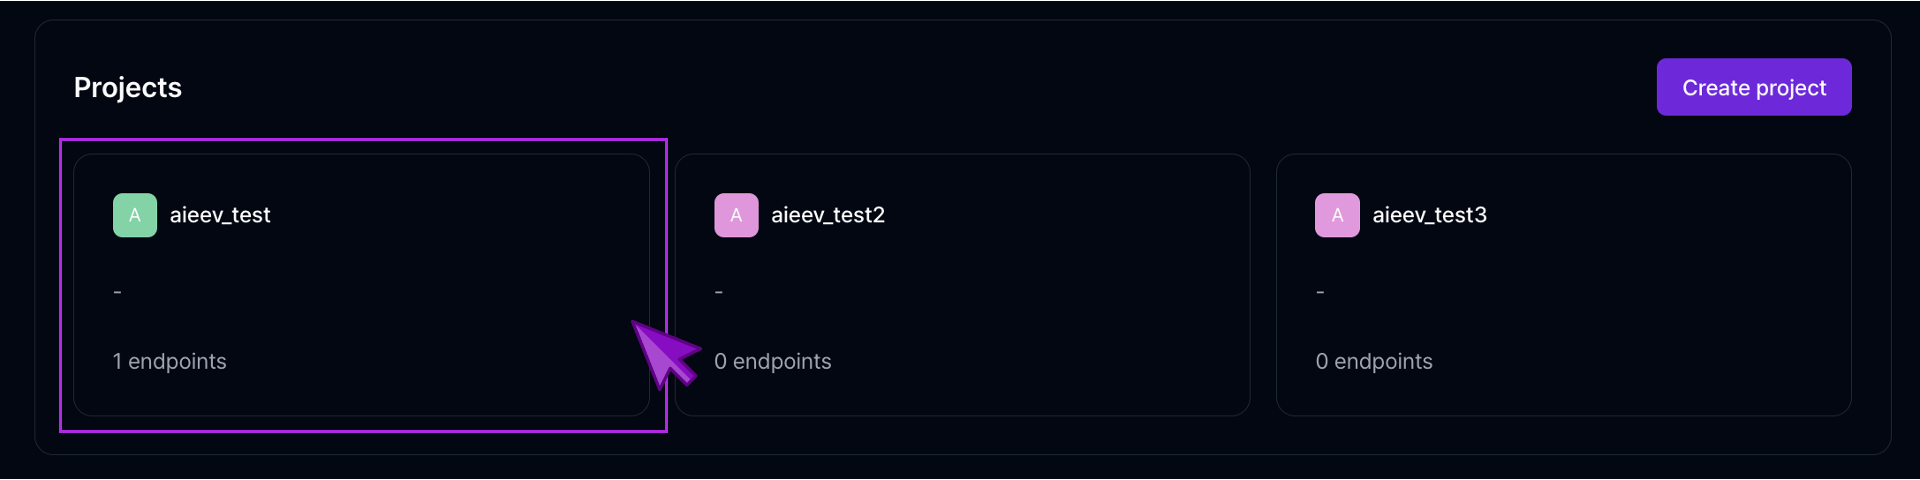
Step 1. Select a project

Select a project

First, go to the Project Dashboard and select the organization and project you created during onboarding.

Container Page

From the Service tab on the project page, select “Container” and click [+ Create] button to create a new container.

Step 2. Base Settings

Enter General Information


Enter Container Image Information

During container creation, the following fields are required:

Name
string
required

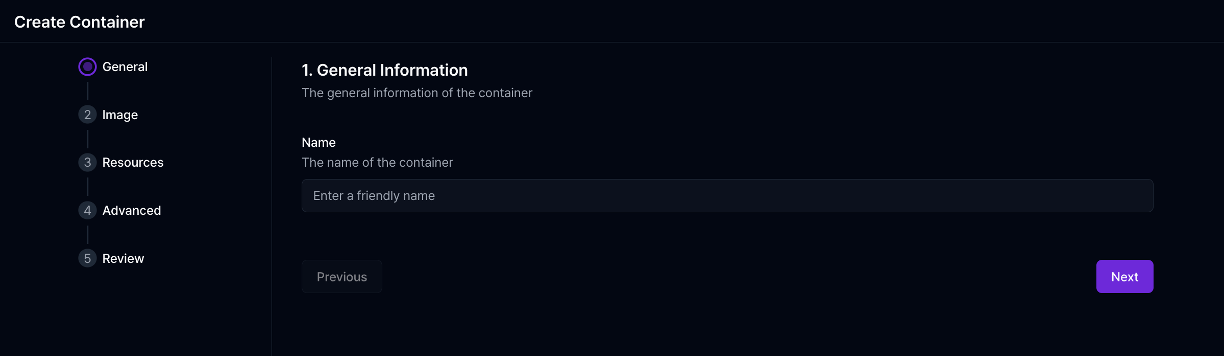
A user-friendly name for the container.

Category
string

Type of service the container provides (used for future Playground integration).

Container Image
url
required

Docker image URL of the container.

Registry Provider
string
required

The registry where the image is hosted (e.g., GitHub Container Registry, Docker Hub).

Registry Username & Password
string

Required if pulling from a private registry.

Step 3. Configure Resources

Resource Settings

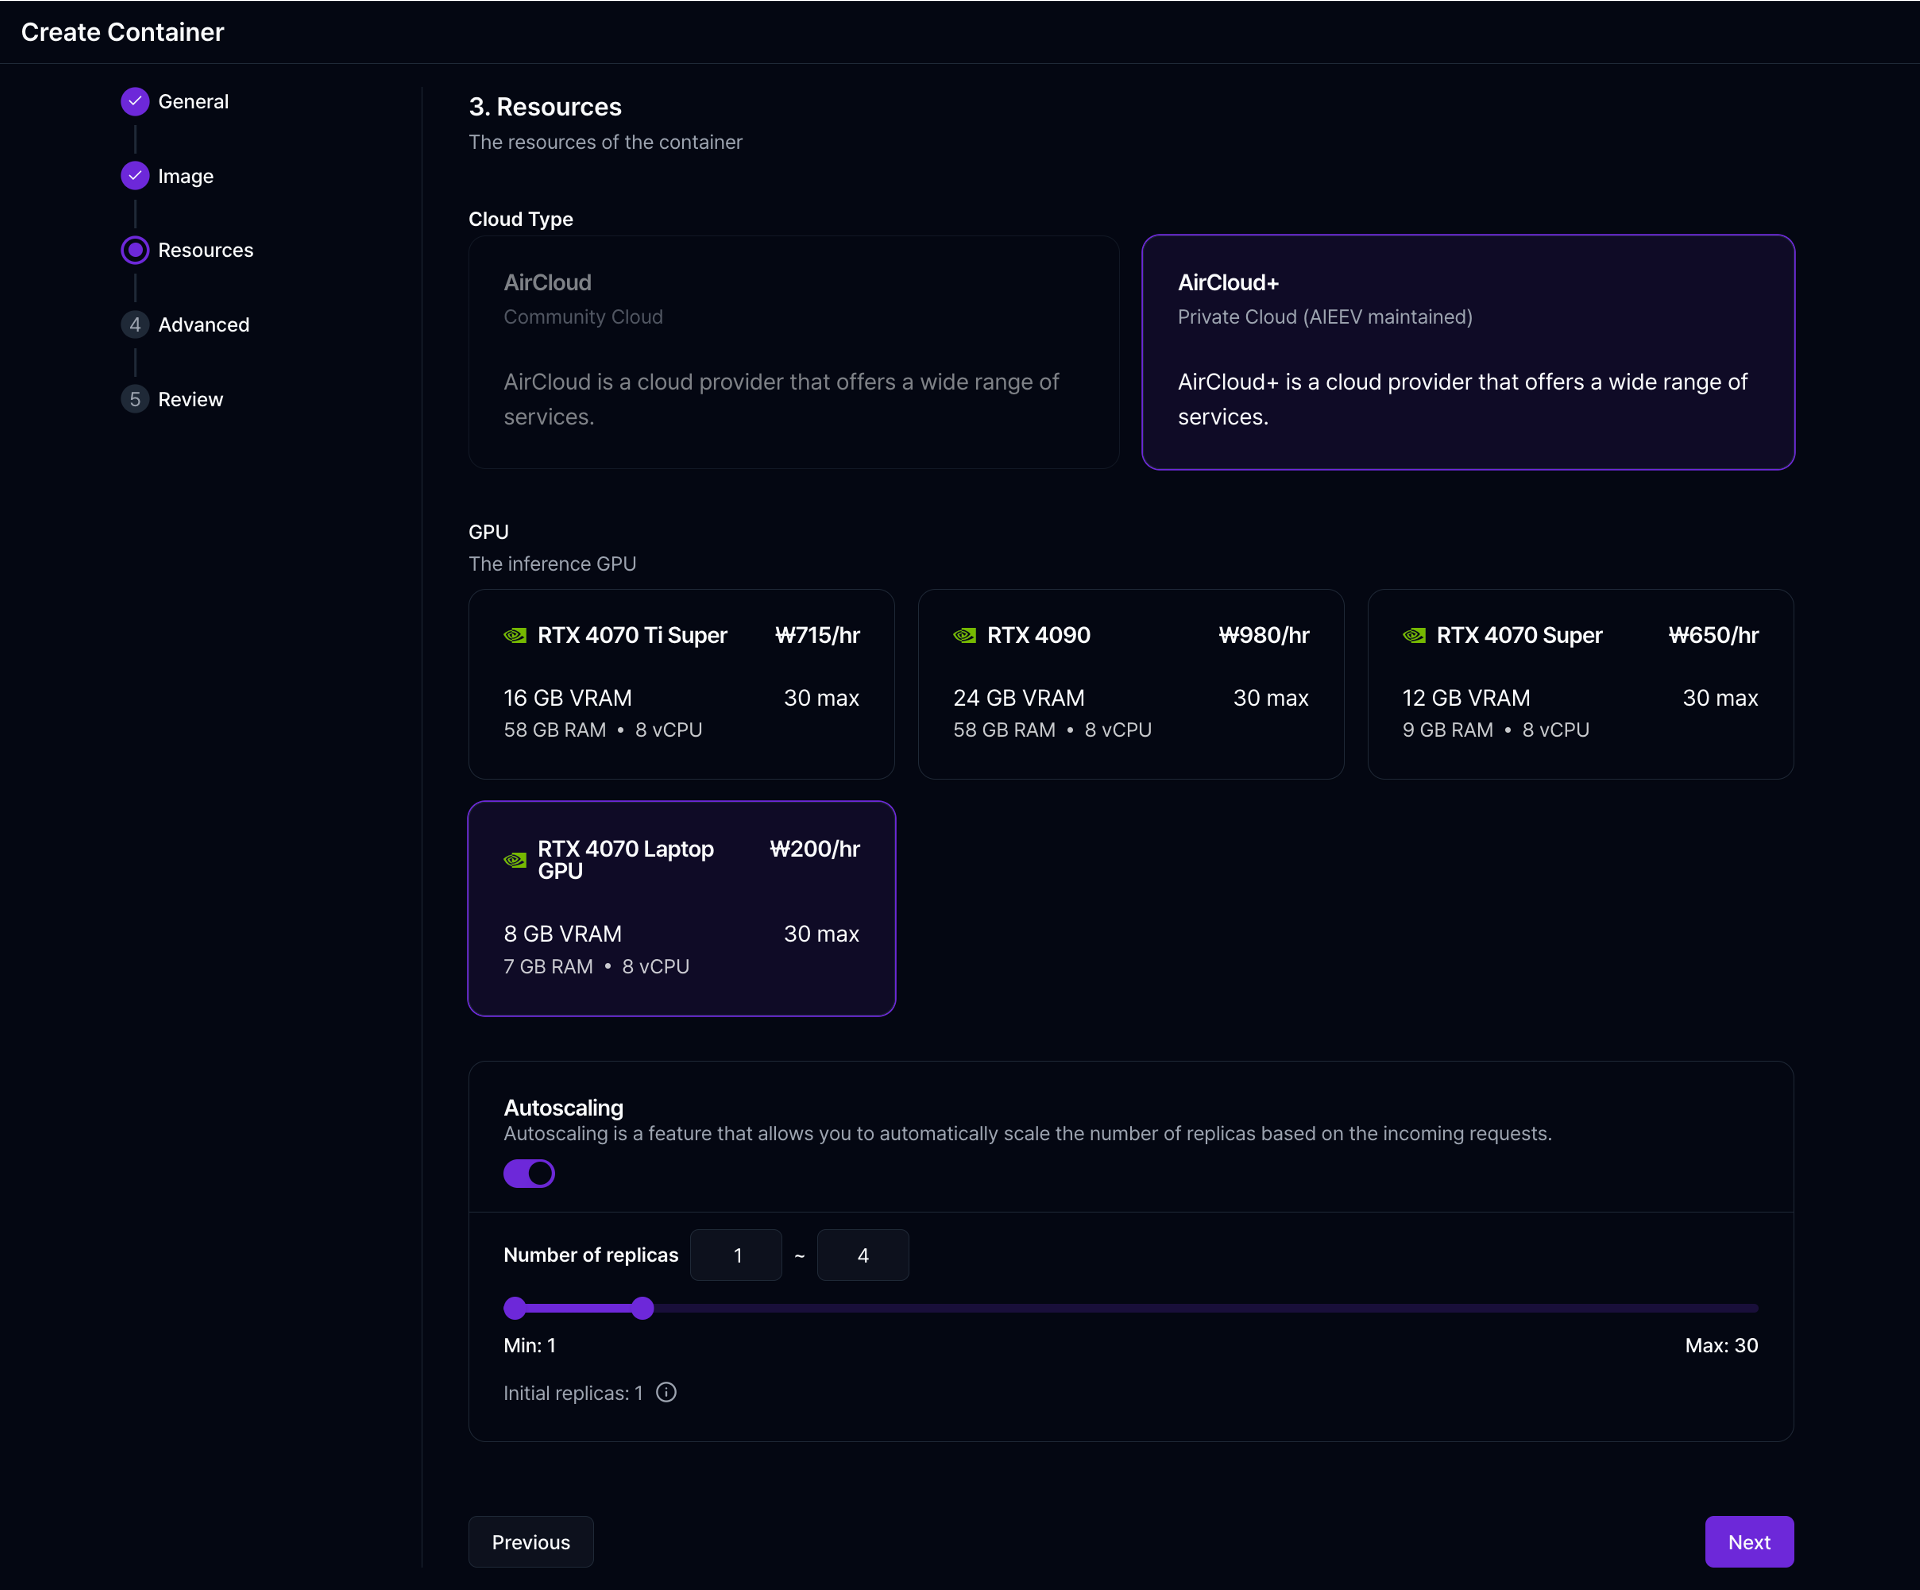
  • General Mode: Define instance type (e.g., RTX 4070, 4090).
  • Autoscaling Mode: Define minimum and maximum replicas (1 to 30). Higher values require manual approval.

Step 4. Advanced Settings

Advanced Settings

In the “Advanced” section, additional options are available:

Start Command
string

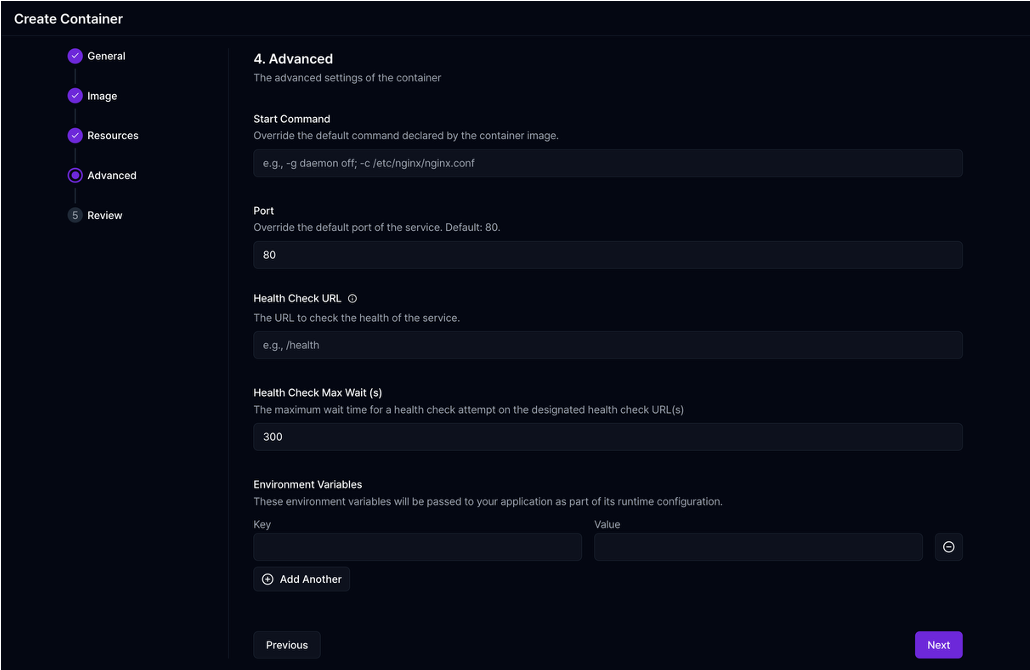
Overrides the default startup command in the container image.

Port
number

Overrides the default exposed port.

Health Check URL
url

Path to check container health status (e.g., /api/health).

Environment Variables
object

Set key-value pairs required for your app (e.g., DB credentials, API keys).

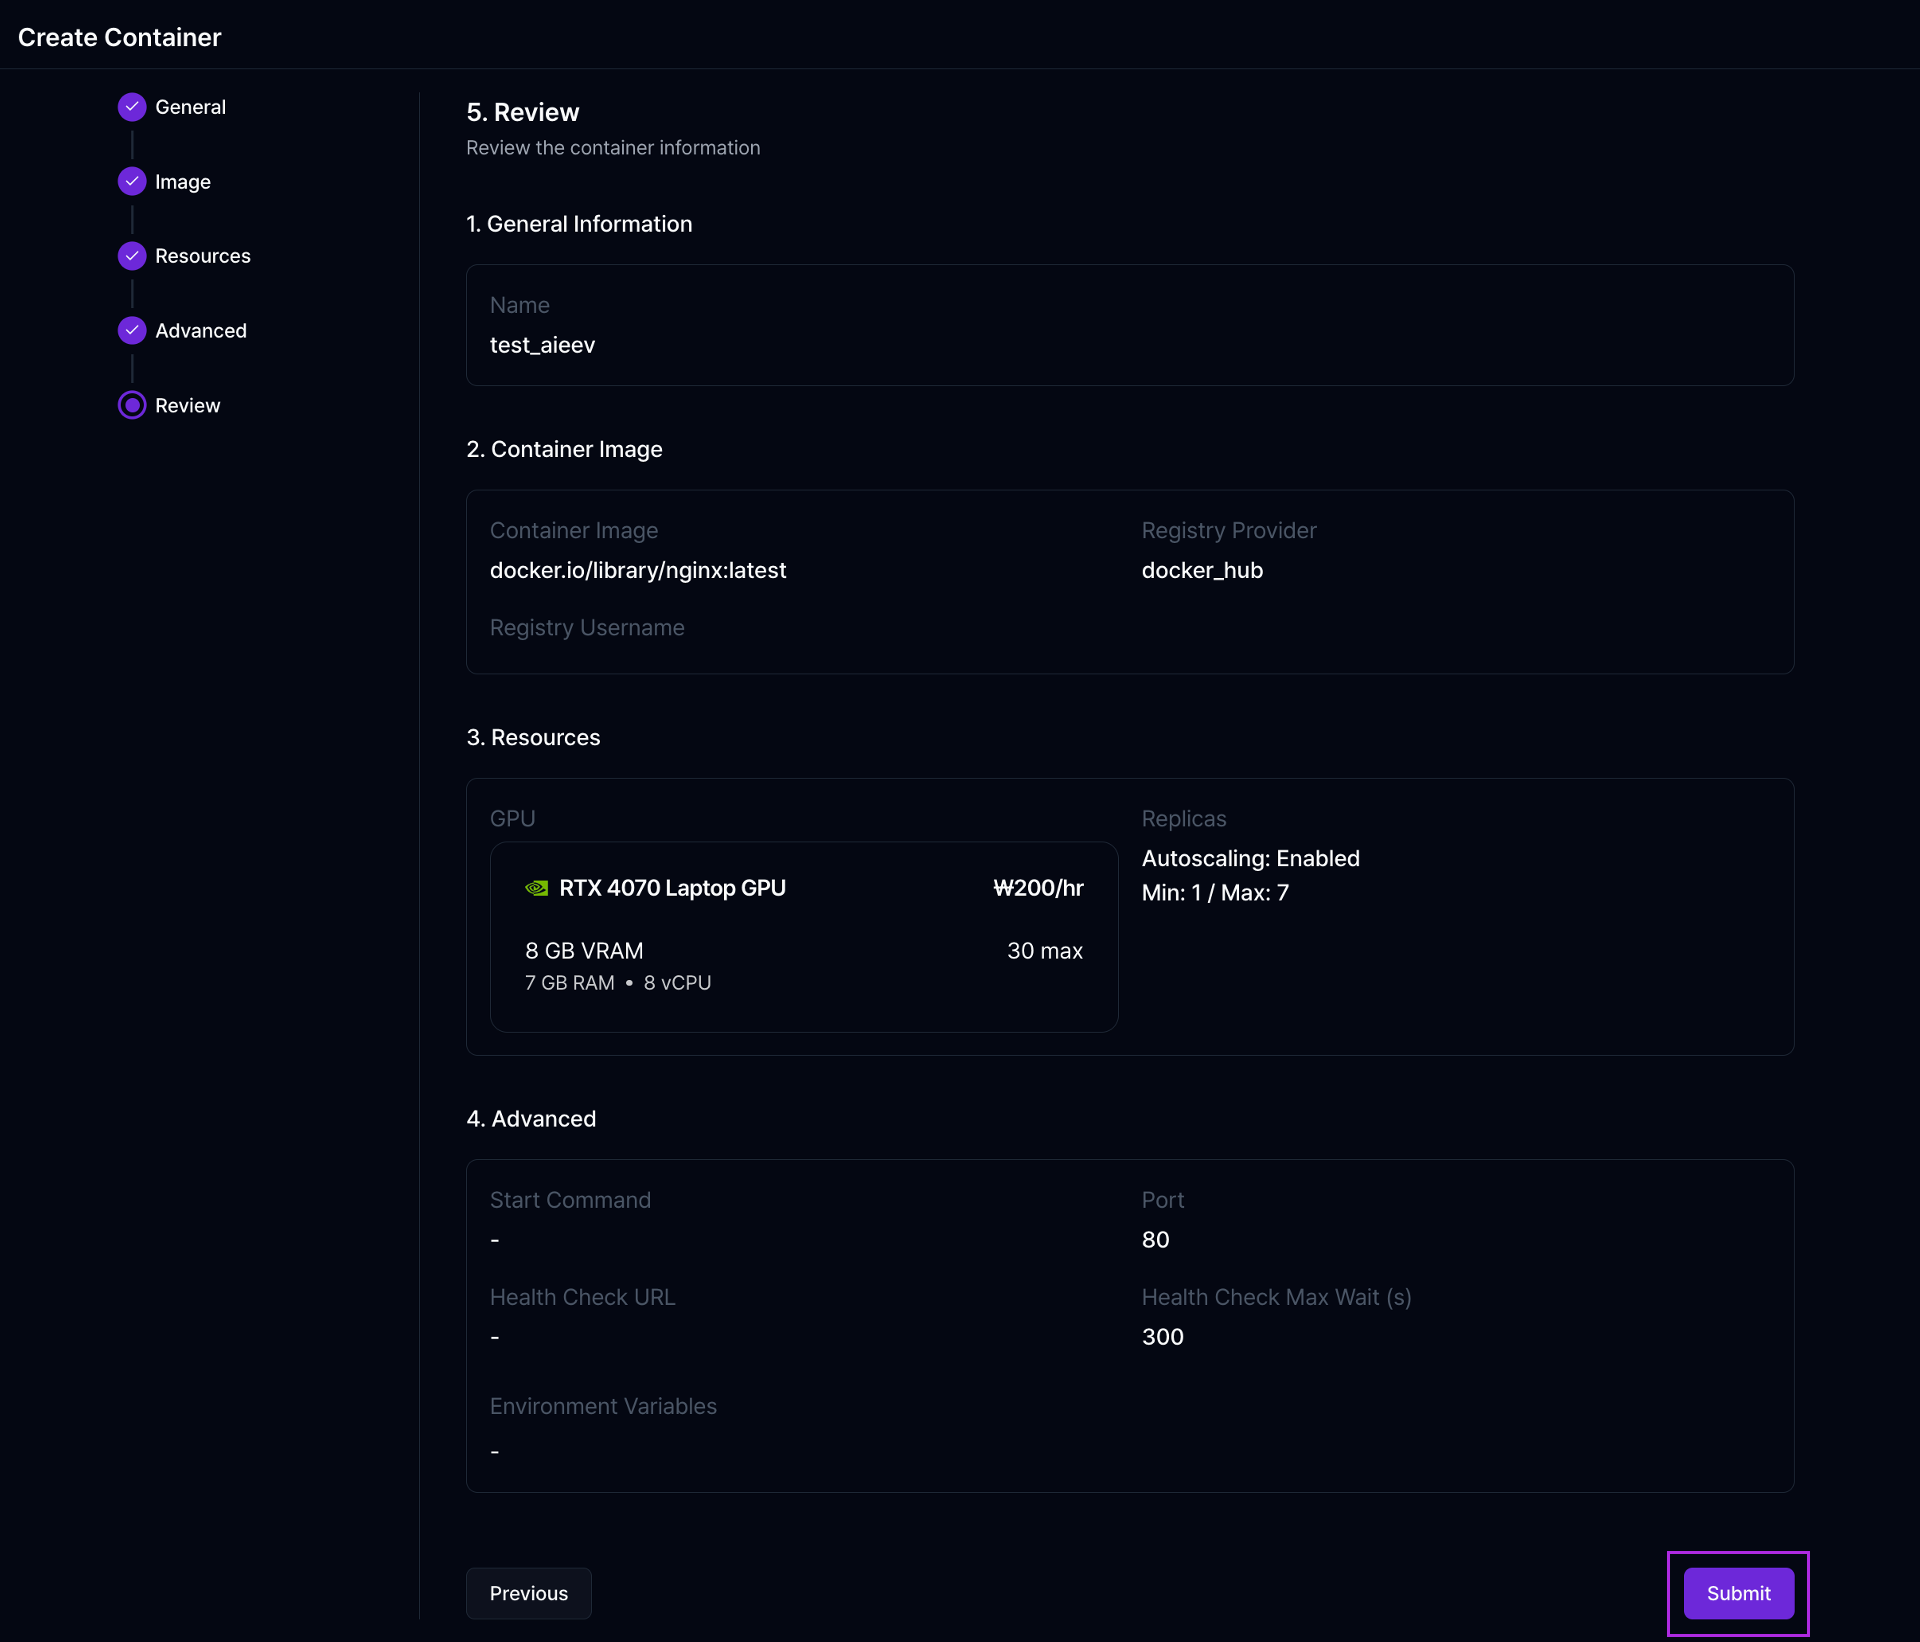
Step 5. Review and Deploy

Review Page

Step 6. Deployment Completion

Deployment Completion

Once deployed, the container will start immediately, and an API endpoint or service URL will be provided.

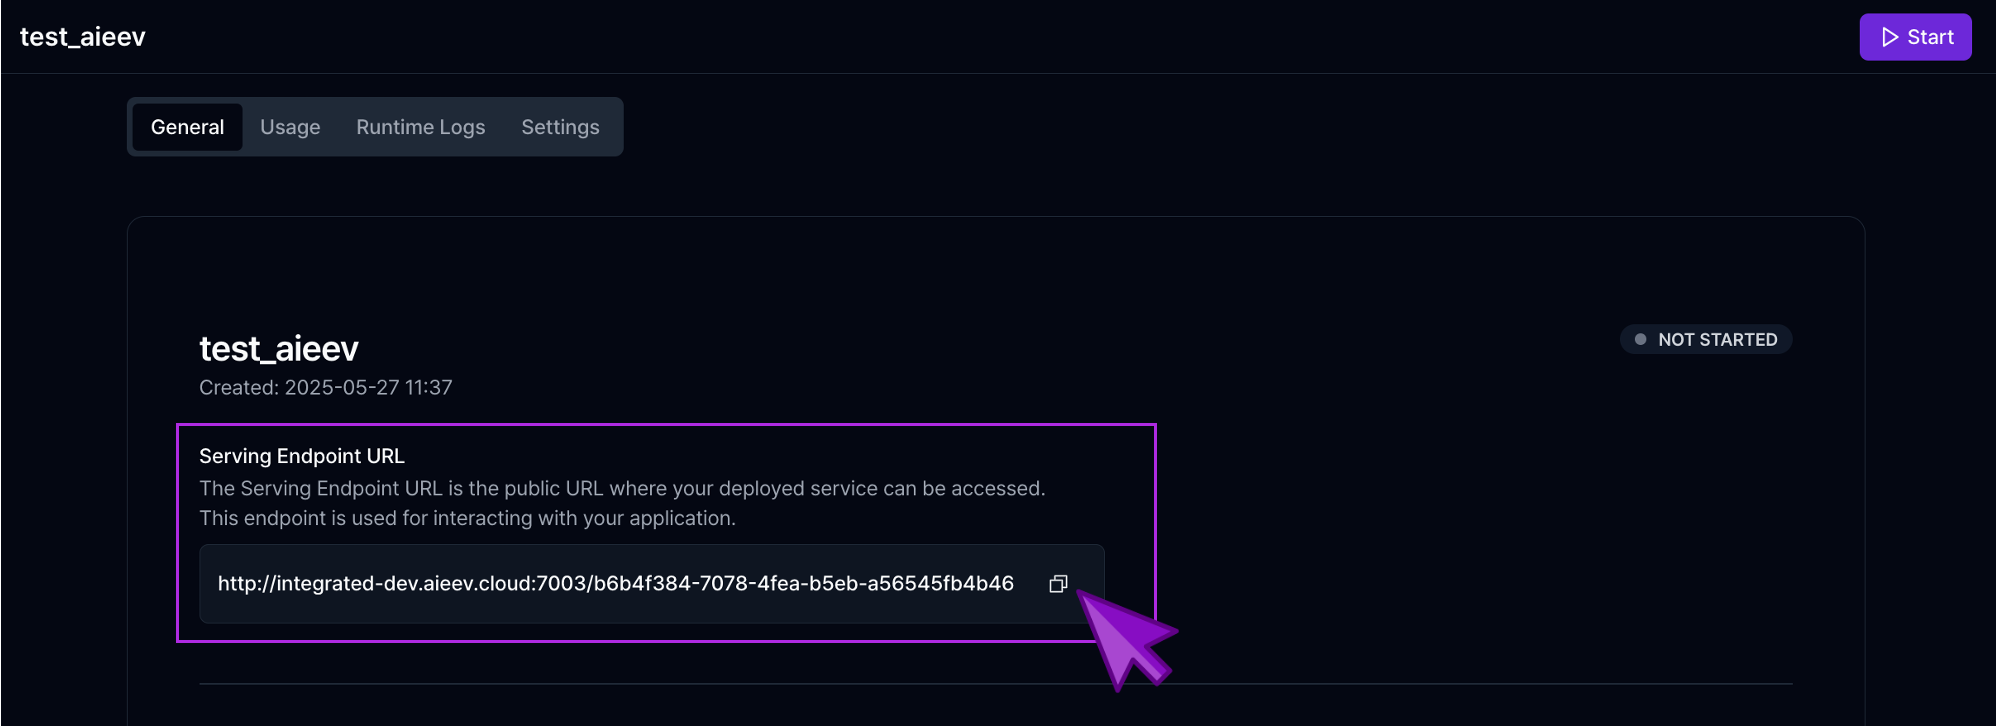
  • The container will appear in the left-hand list.
  • Selecting an item will show its detailed information on the right.
  • You can edit settings from the right panel.
  • Clicking the “Dashboard” button will redirect you to a detailed management page with container status and activity logs.

API Request

Once the container status is RUNNING, you can access the AI inference API using the exposed endpoint. Replace the host part with your container’s Endpoint URL.

cURL
curl --request POST \
     --url ${ENDPOINT_URL}/api/v1/chat/completions \
     --header "Accept: application/json" \
     --header "Authorization: Bearer ${YOUR_API_KEY}" \
     --header "Content-Type: application/json" \
     --data '{
  "messages": [
    {
      "role": "system",
      "content": "You are a helpful assistant."
    },
    {
      "role": "user",
      "content": "Write a haiku about recursion in programming."
    }
  ]
}'